
This shop has been compensated by Collective Bias, Inc. and its advertiser. All opinions are mine alone. #SallyStrong #CollectiveBias
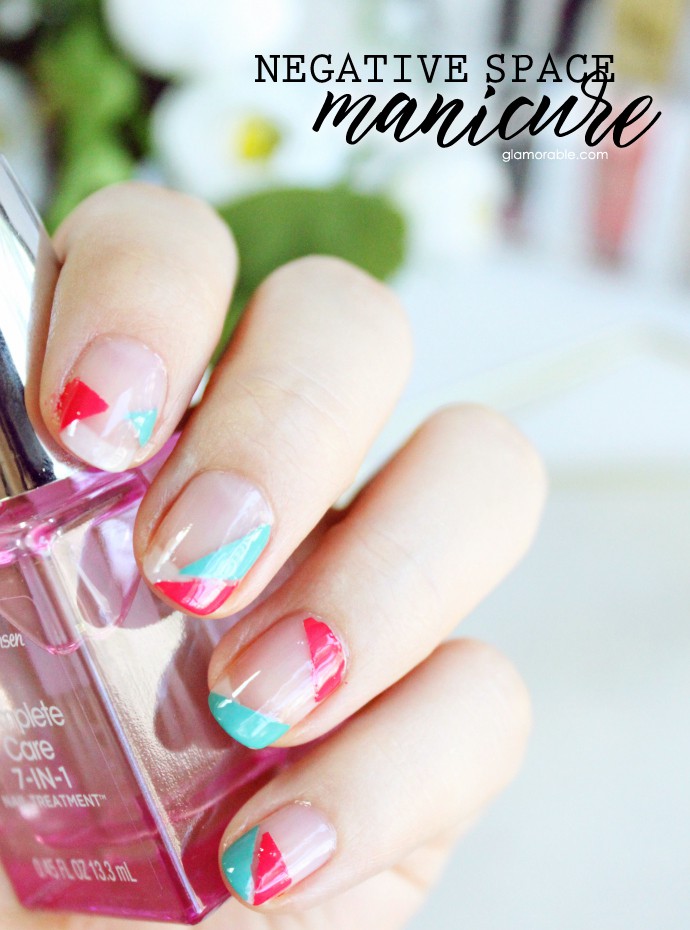
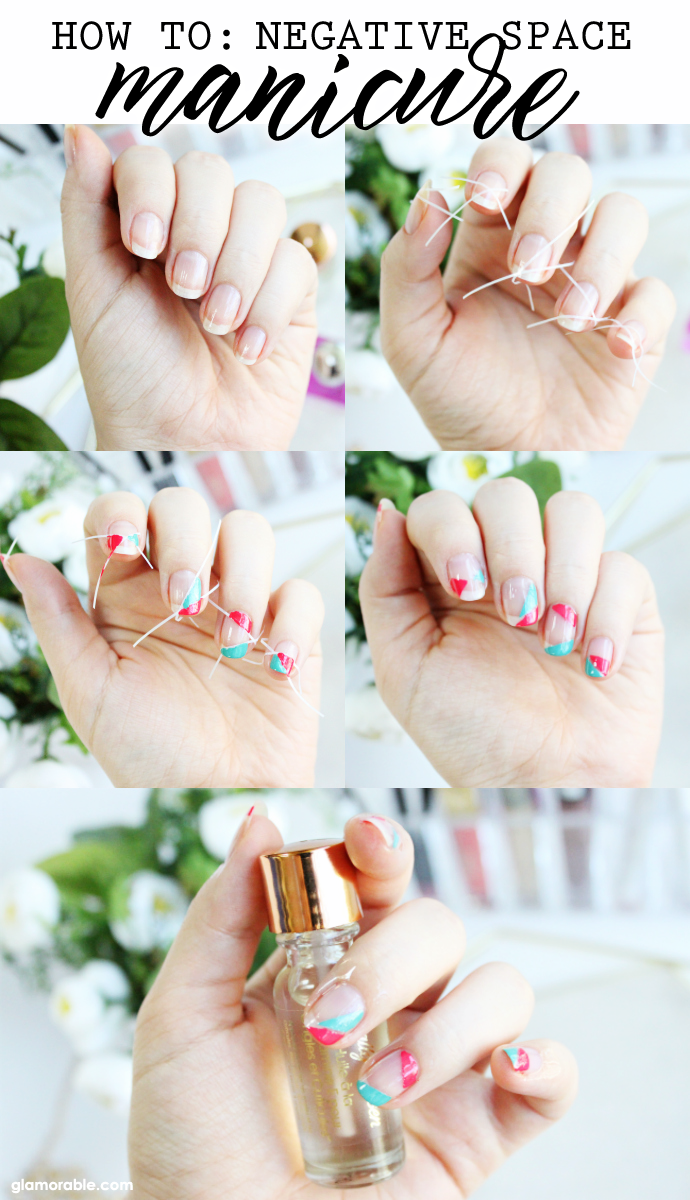
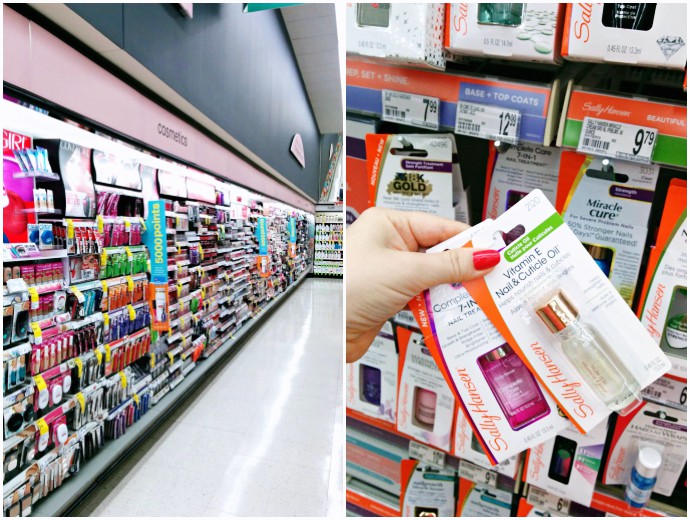
Nail art is basically an art form in itself, hence the name, and one style in particular is having a moment right now. This simple yet eye-catching technique is called negative space manicure, which in a nutshell is made up of splashes of color with your bare nail peeking through. I was a bit hesitant to try it at first because my nails are uneven and have ridges, but with the right base coat even the most uneven surfaces can be evened out nicely. For today’s easy negative space manicure tutorial I selected four Sally Hansen products that I picked up at a local Walgreens. I needed a new base coat anyway, and my old nail care oil had to be replaced [I think it might have been expired by a few months, teehee]. I also picked up a couple summery nail color shades to bring this idea to life.
TUTORIAL:
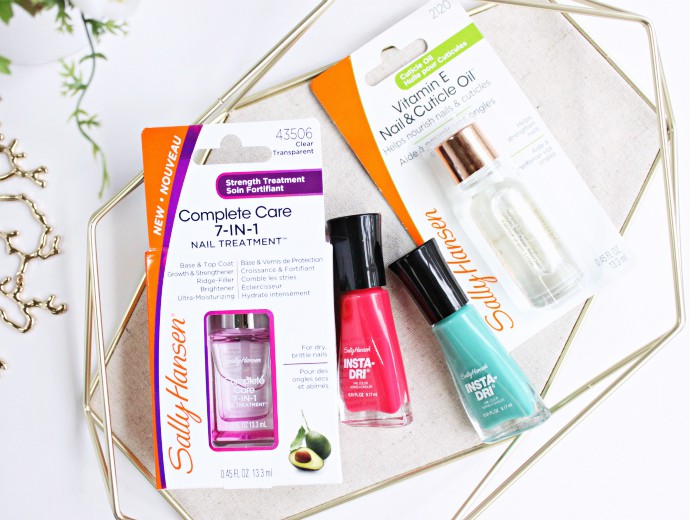
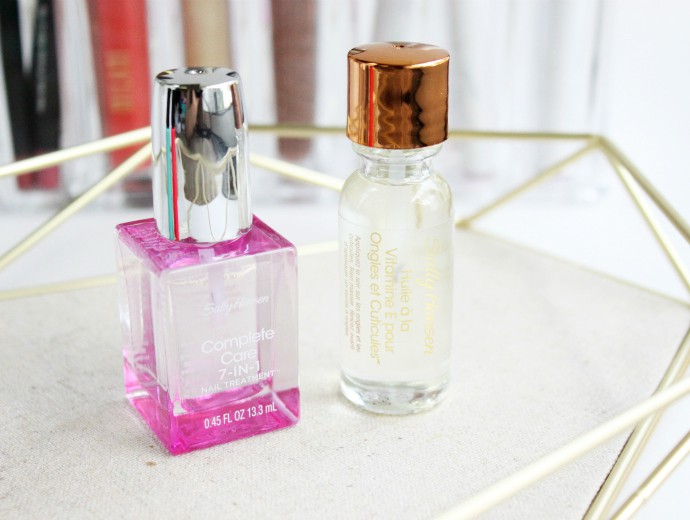
1 // Trim and file the nails, then apply a nice thick layer of base coat and wait for it to dry completely. I used my new favorite Sally Hansen Complete Care 7-in-1 Nail Treatment.
2 // Using nail art tape or scotch tape, arrange the strips to form random geometrical shapes.
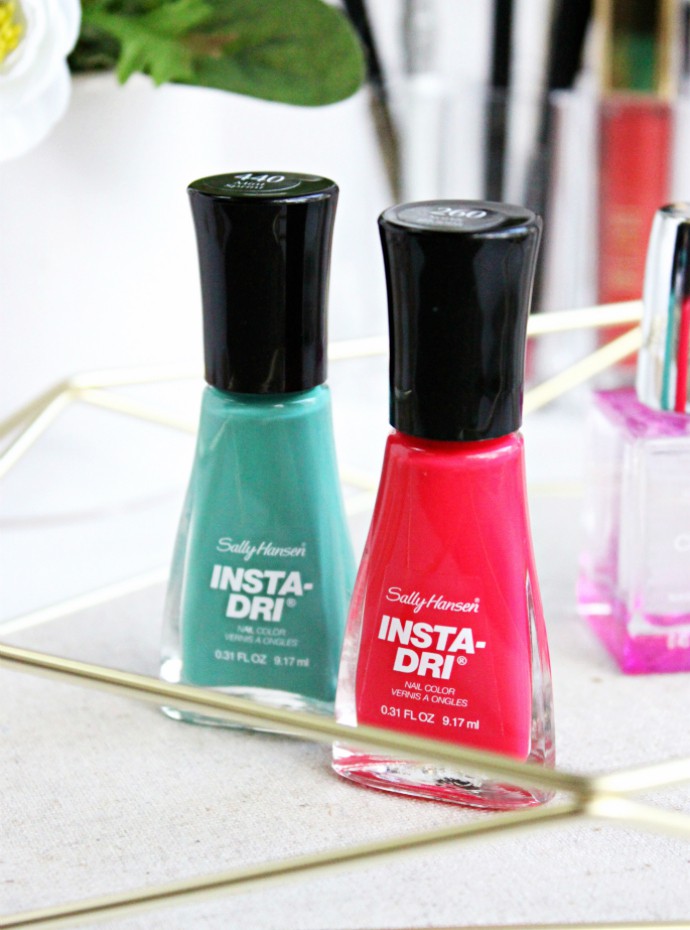
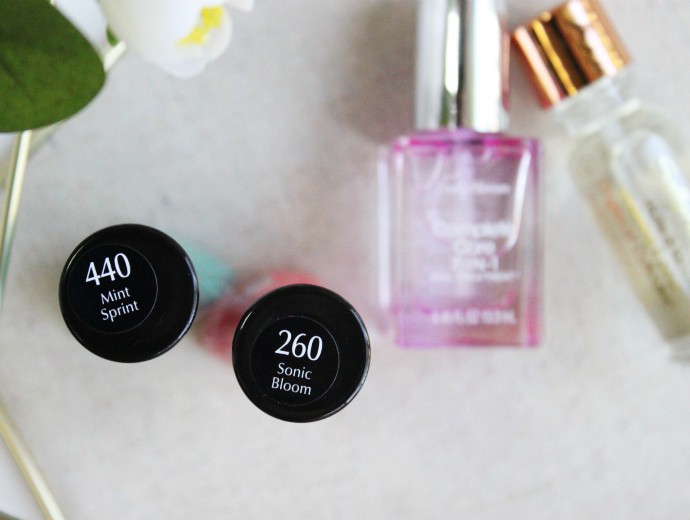
3 // Carefully fill in the hollows with bright summery colors using the nail polish brush or a small sponge. Wait a couple minutes for the polish to dry, then remove the tape. For this step I used Sally Hansen Insta-Dri Nail Color in 440 Mint Sprint and 260 Sonic Bloom.
4 // Seal in your design with some top coat, and voi la – your negative space manicure is complete!
5 // To make your fresh manicure to look extra neat, swipe the base of your nails with cuticle oil to soften any dry and rough edges. I just picked up Sally Hansen Vitamin E Nail & Cuticle Oil and I really like it so far. It’s sitting on my desk right now, and whenever I look at it I’m reminded to massage a little bit into the cuticles to make my current mani last longer.
As you can see, I used Sally Hansen Complete Care 7-in-1 Nail Treatment as both my base and top coat. This new multitasker provides the solutions to all of the common nail problems, is an all in one base coat, top coat, growth treatment, strengthener, ridge filler, brightener, and ultra-moisturizing nail treatment. Add in the cuticle oil and consider those problems solved, haha 😉 You can find both products at your local Walgreens in the beauty aisle under Nail Care.
Have you ever attempted a negative space manicure or had it done in a salon? Do you like the trend? Which nail art style is currently your favorite? Let me know in the comments below!
Disclosure: This post features sponsored content. For more details about my product review policy, copyright, and information about affiliate links, please refer to Disclosures & Content Use page.
Very cute, love the colors you chose!
I love negative space manicures! They’re so eye catching!
I wish I was better at doing my nails because this looks so cute!
I love this design and how easy it is to do!
I love this look. I may have to give it a try even tho I’m nail art challenged
I need the cuticle oil and 7-in-1. I’ve never done a negative space but it looks fun.
Thanks for the easy to follow tutorial!
The tutorial rocks! I love the colors you chose.
Excellent tutorial. I need to pick up the nail treatment and cuticle oil. Mostly because I like the bottles… lol
You did a great tutorial, more of this kind pls!
Super cute and easy tutorial! I’ve always wanted to try some negative space nails! [client]
LOVE IT. I have never tried negative space myself but this looks easy,.