
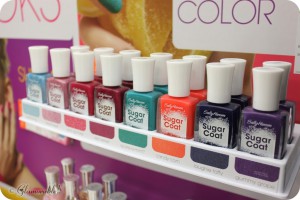
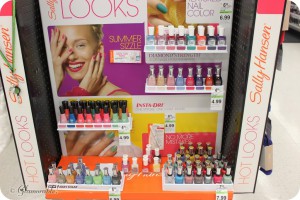
I haven’t been to Walgreens in a while, although it’s actually much closer to my home than another retailer I usually shop at. But when I was given an opportunity to play with Sally Hansen’s new textured nail polishes, it was the first place I thought I’d go to check them out (you know me, #IHeartMyNailArt !!). Did you know that Walgreens stores have Sally Hansen displays, called Nail Bars? I live in a small town so we don’t have one, but if you are in a city, yours just might have it.
The display was full of beautiful seasonal colors to choose from, but I was shopping with two certain nail art looks in mind, so even though I really wanted to buy the entire shelf, I had to select several very specific colors. I was so overwhelmed, it’s a miracle I even remembered that I actually have a Balance Rewards card. I dug it out from the depths of my wallet to score some extra points and discounts. You can check out my Google+ album for more pictures from this fun shopping trip.
If you like Sally Hansen, Walgreens currently has two nice promotions going on:
- B1G1 50% Off for all Magnetic, Nail Miracle Growth and Crackle polishes
- Xtreme Wear nail polishes 2 for $4 (or 1 for $2.79)
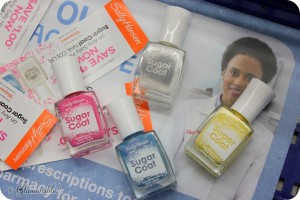
Textured nails have been all the rage lately, from nail caviar to bird feather effect, with my favorite one being the liquid sand type. Sally Hansen has a collection called Sugar Coat, which includes several gorgeous matte and shimmery textured nail polish shades.
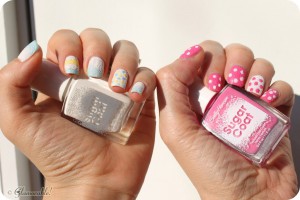
While brainstorming the nail art ideas I checked out I Heart My Nail Art for some tips – those ladies are super creative! I decided to try some of my favorite patterns – gradient, stripes and dots – using the hottest summer nail polish colors. There is one unmistakable trend you can find everywhere these days – in the stores, on the runways, on the beach, – and that is white nail polish! Have you tried it for yourself? It looks very refreshing, and makes your skin look more tan 🙂 For this tutorial I teamed up with my Mother-in-law Jennifer, who was adventurous enough to try these polishes together with me. And here are our results!
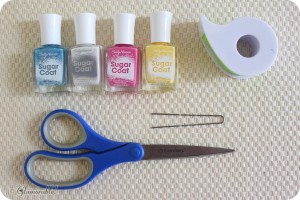
What you will need:
- Textured polishes require no base or top coat, so for this look you won’t need either.
- Sally Hansen Sugar Coat polishes in 200 Sugarfix, 210 Royal Icing, 400 Sweetie, and 700 Cotton Candies
- A dotting tool… or a back of a bobby pin!
- Some tape and scissors
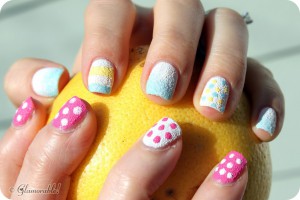
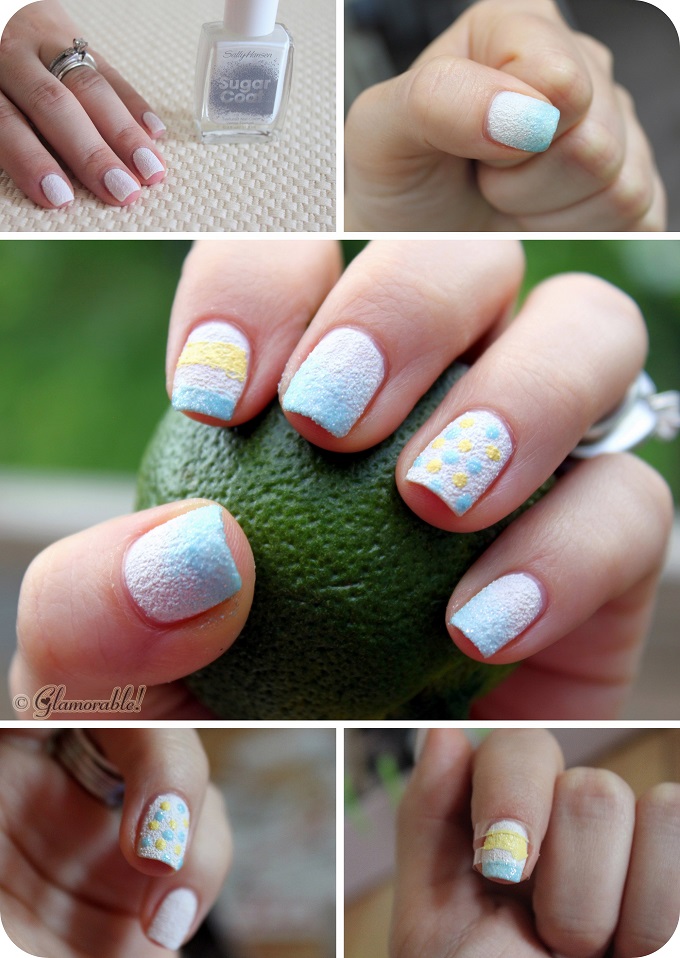
For my own nails I went for a blue-white gradient effect. Not only it’s very refreshing to look at when the temperatures are above 90 degrees outside, it also happens to be my favorite color combination.
- Apply 200 Sugarfix as an all-over color and let dry thoroughly. We will use it as a base.
- Gently pat 210 Royal Icing on your nails starting from the tip to about 1/3 down. It’s very sheer so it will naturally create a nice gradient effect. You can do that for all of your nails, or you can leave some for other patterns, like I did.
- For my ring accent finger, I applied blue and yellow dots using 400 Sweetie and 210 Royal Icing nail polishes.
- For my pointer finger I cut three thin tape stripes, gently attached them to my nails, and painted some stripes using the same 210 Royal Icing and 400 Sweetie. Then I carefully removed the tape and waited for the nails to dry.
- Remember what I said? No top coat necessary!
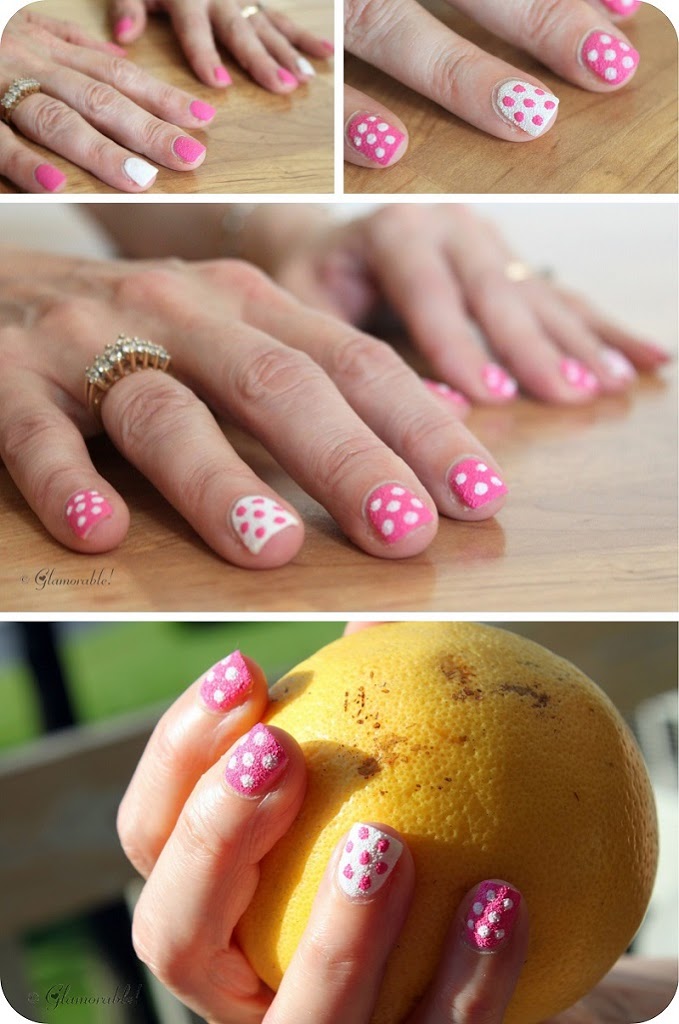
- Apply 700 Cotton Candies as an all-over color and let dry. That will be our base color.
- (Optional) Apply 200 Sugar Fix to your accent finger.
- Using the dotting tool or a bobby pin apply some dots: 200 Sugar Fix to your pink nails, and 700 Cotton Candy to your accent white nails if you opted in for that one. Let dry.
- We’re done!
The verdict: Jennifer and I both agreed that these polishes create something like an “egg shell” effect, which actually makes our thin and bendy nails look and feel stronger – a surprising benefit of a textured nail polish. The application was very easy, and the polish layers dried fairly fast. The only thing we both didn’t like was the smell – it wasn’t your typical nail polish scent, but more like fresh paint kind of odor.
That’s it, folks! These summery manicures sure look cute and are easy to do, aren’t they? Jennifer and I sure had a lot of fun playing with our new nail polishes. I hope I inspired you to try these super easy summer manicures, too!
You can connect with Sally Hansen on Twitter, and Facebook. And don’t forget to tweet your “Thanks” to Walgreens for always enabling us to buy more *ahem* useful things using the discounts they regularly provide us with 🙂
Have you tried Sally Hansen textured nail polishes before? What are your favorites?



really pretty! I haven’t tried sugar coat yet but I think the pink is especially nice. what a fun experience with your mother in law 🙂
writingwhimsy.com
Thank you, Zoe 🙂 If you do decide to try them, you’ll be surprised how easy they are to work with.
These are wonderful! So pretty and fun!
~Sara
Sincerely, Sara
Thank you, Sara!
Ana, I received a LOT of compliments about my pink-and-white, polka-dot manicure today. Thanks for working your magic on me. So much fun!
We should do it again, squirrellie 🙂 Mwah!
It looks great !:)
Thank you, Betzy!
These are so adorable, love the colors and textures!
Thank you, Sara! 🙂