
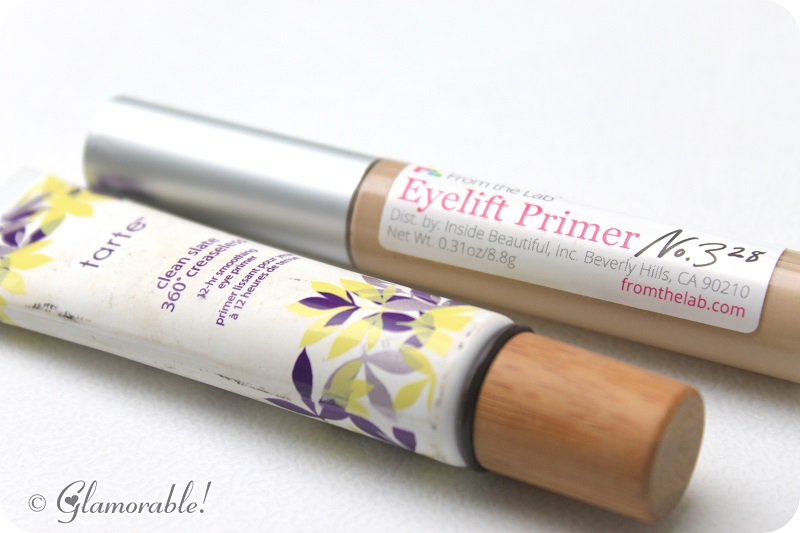
First of all, I moisturized the eye area and applied a primer, two, actually: Tarte Clean Slate 360° Creaseless 12-Hr Smoothing Eye Primer on by bottom lids, and From The Lab Eyelift Primer #328 on the top lids to make sure the area is smooth and the eye shadow adheres well and doesn’t fall off.
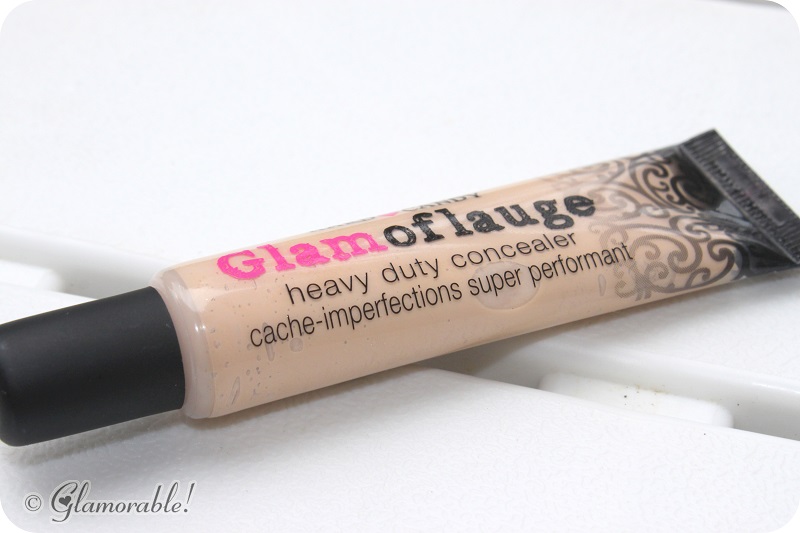
Next I lightly dabbed some Hard Candy Glamoflauge Heavy Duty Concealer in Ultra Light to hide the dark circles under my eyes. Apparently I have very thin skin in that area so I will never get rid of them permanently, no matter what skin care I use.

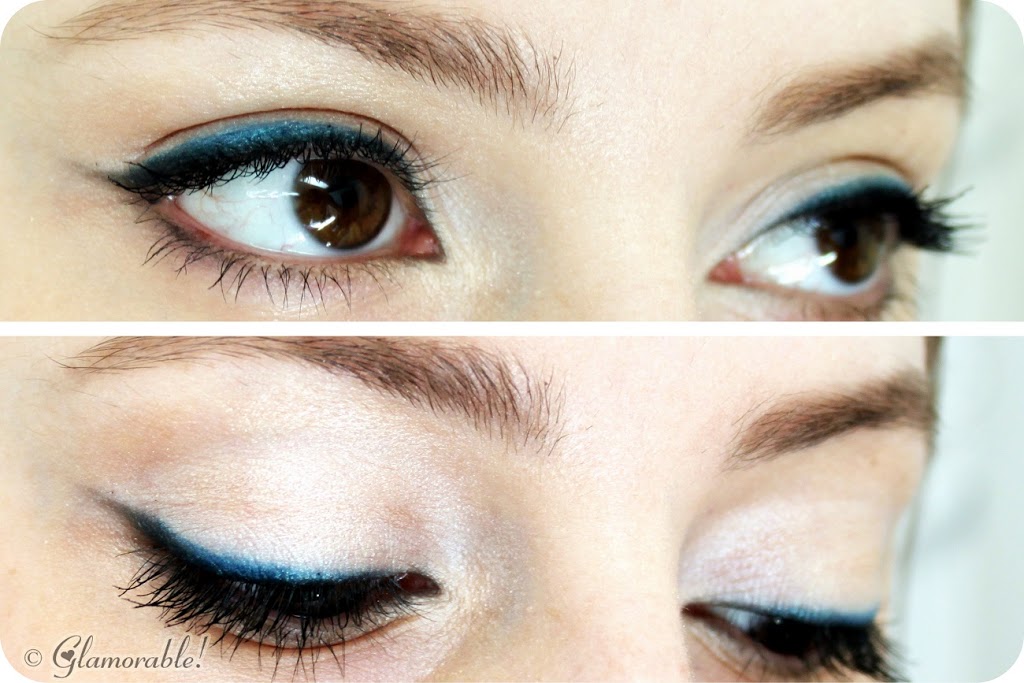
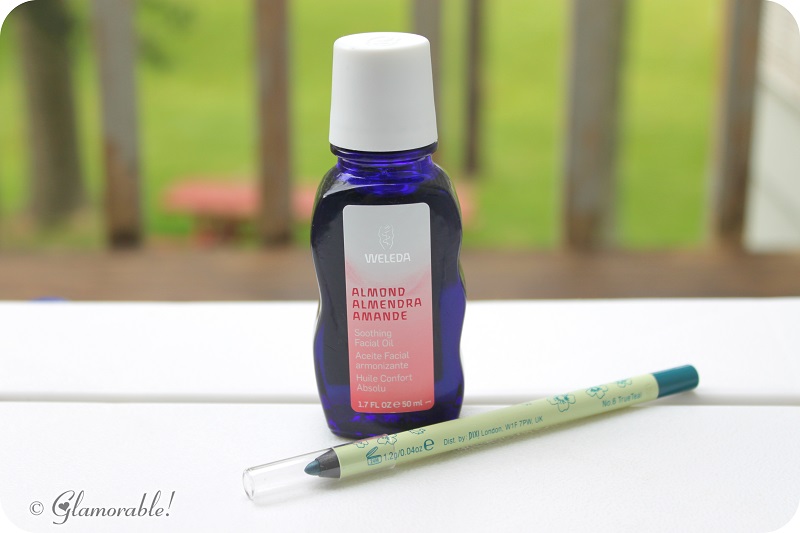
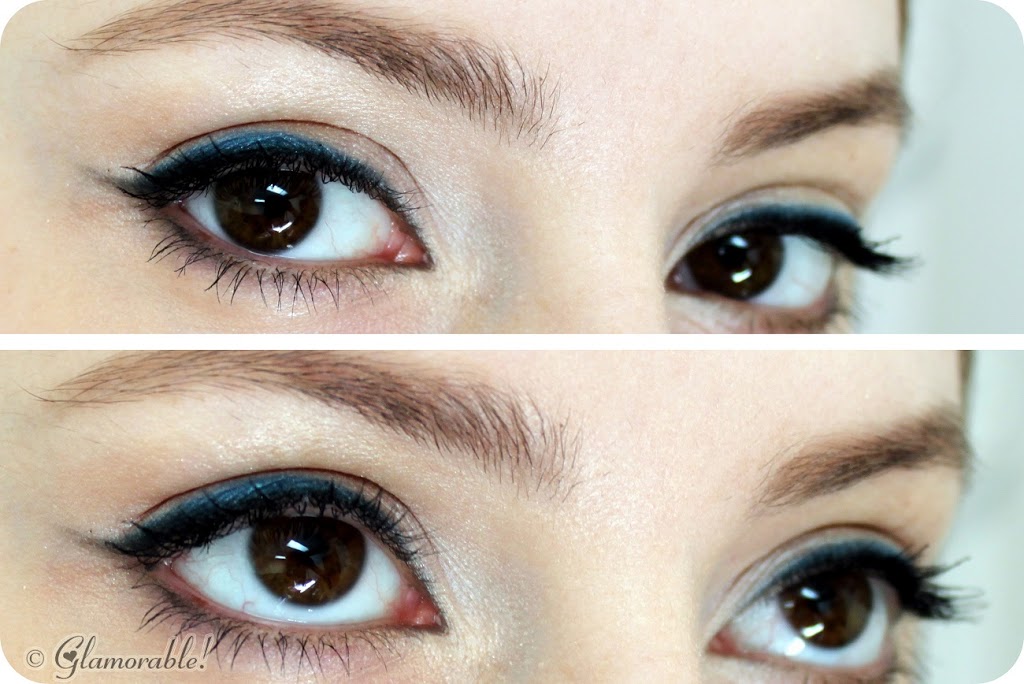
Then I drew a medium-thick line along the top lashes with Pixi Endless Silky Eye Liner in 06 Teal. What I love about this eye liner is how creamy it feels when you first apply it, but after it’s set it just won’t budge no matter what. And because of that it can be a little hard to remove, unless you have something for removing waterproof makeup. Or you can use a DIY remover by mixing plain water with your favorite oil, even EVOO will do. I use Weleda Almond Oil*, which also works well as a nighttime moisturizer for face and body.
So, after my teal eyeliner was set in place, I grabbed a fluffy blending brush from BH Cosmetics 7pc Hard Case Brush Set and put the lightest shade from Starlooks Brow Shader in BS3* all over my top lids, and in the inner corners of my eyes.
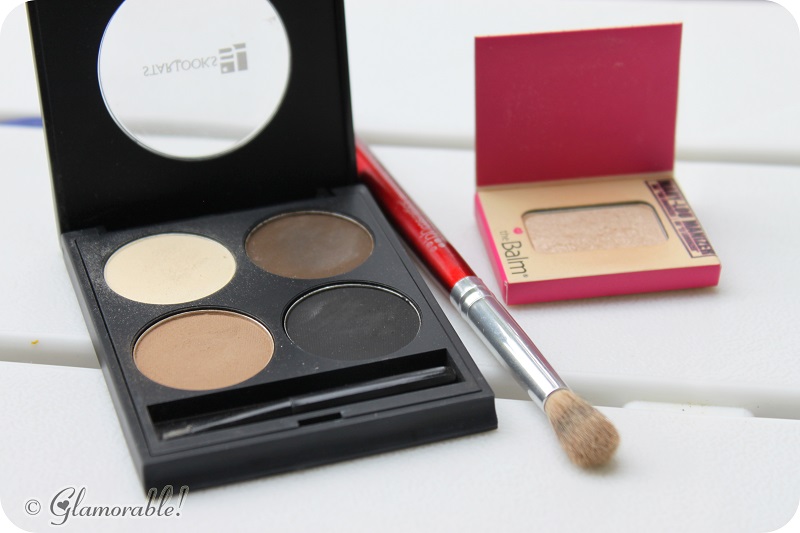
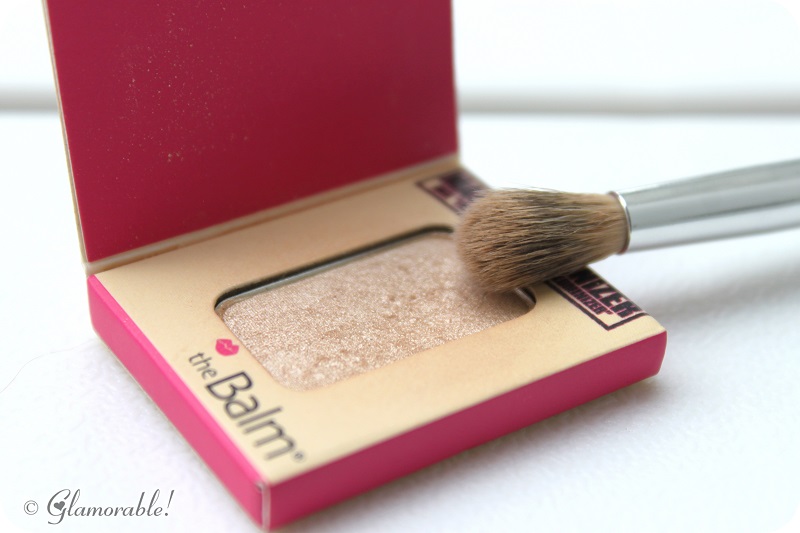
Then with that same brush (I’m awful, I didn’t clean it!) I patted on a little bit of theBalm Mary-Lou Manizer highlighter in the middle of my eye lids and a tiny bit under the brow bone to add a little shimmer to the look.
After that I grabbed the brush that came in the Starlooks Brow Shader in BS3* and applied the darkest color from that brow palette as an eye liner over the teal color, leaving enough space for the teal to still be visible. I also lined the inner corners and the bottom lash line with it until midway through, then switched to the bottom left color to connect the line with the inner eye corner.
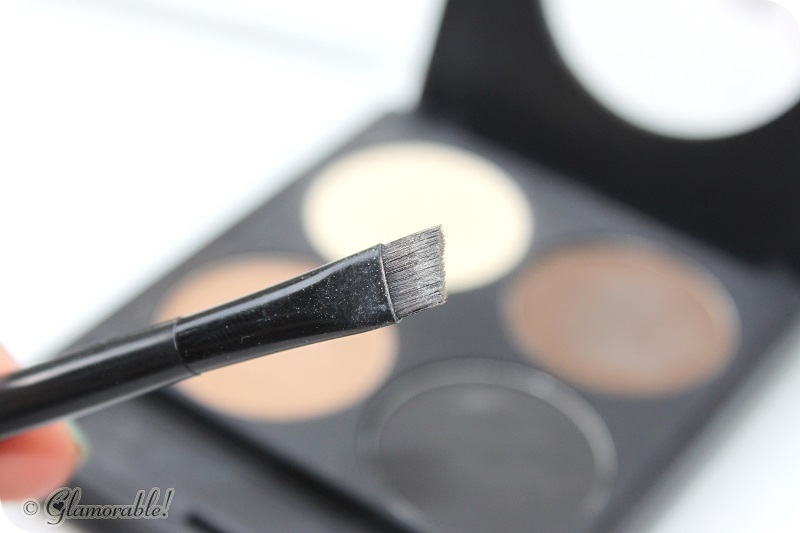
Still using the same Starlooks Brow Shader in BS3* I lightly filled in my brows by using a custom color mix of all four shades in the palette. I found that this allows me to create natural-looking brows that don’t look too overdone for the day time.
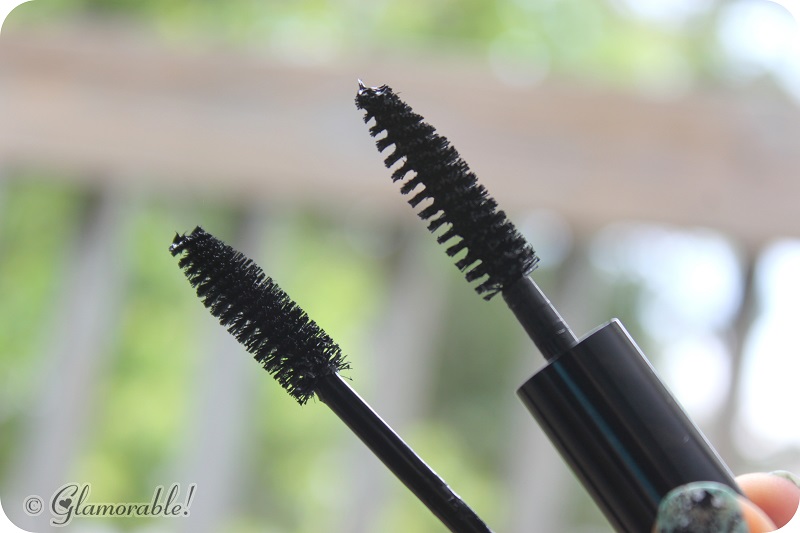
And finally, I applied one coat of Starlooks Lengthening Mascara and one coat of Smashbox Full Exposure Mascara* to finish this look.

Voilà! We’re done!
This sounds like a lot of steps, but the whole thing took me only about 5 minutes to finish. It’s a very simple classic look with a hint of color, and this is the kind of make up I wear every day at home and to run errands.

What did you think about this look? Would you like to see more of these posts in the future?
Disclosure: The products marked with an asterisk * were provided to me for the purpose of reviewing, received as a free sample or a sweepstakes prize. Everything else was purchased by me with my own money. I am disclosing this in accordance with the Federal Trade Commission’s 16 CFR, Part 255 : “Guides Concerning the Use of Endorsements and Testimonials in Advertising.”

